setup instructions kf 50.0009 ptz cam
PTZ (Pan-Tilt-Zoom) cameras are versatile surveillance tools offering precise control over camera movements, enabling wide-area coverage with high zoom capabilities․ They enhance security monitoring by providing clear, detailed footage in real-time, making them essential for modern security systems․
Why Use a PTZ Camera?
PTZ cameras are widely adopted due to their flexibility, cost-effectiveness, and advanced features․ They allow remote control of pan, tilt, and zoom functions, enabling comprehensive surveillance coverage with minimal equipment․ These cameras are ideal for monitoring large areas, reducing the need for multiple static cameras․ Their ability to zoom in on details makes them perfect for capturing high-quality video evidence․ Additionally, PTZ cameras are adaptable to various environments, from indoor security systems to outdoor surveillance, offering scalability and reliability․ Their remote operation and preset capabilities enhance monitoring efficiency, making them a valuable asset for both residential and commercial security needs․
Overview of the KF 50․0009 PTZ Camera
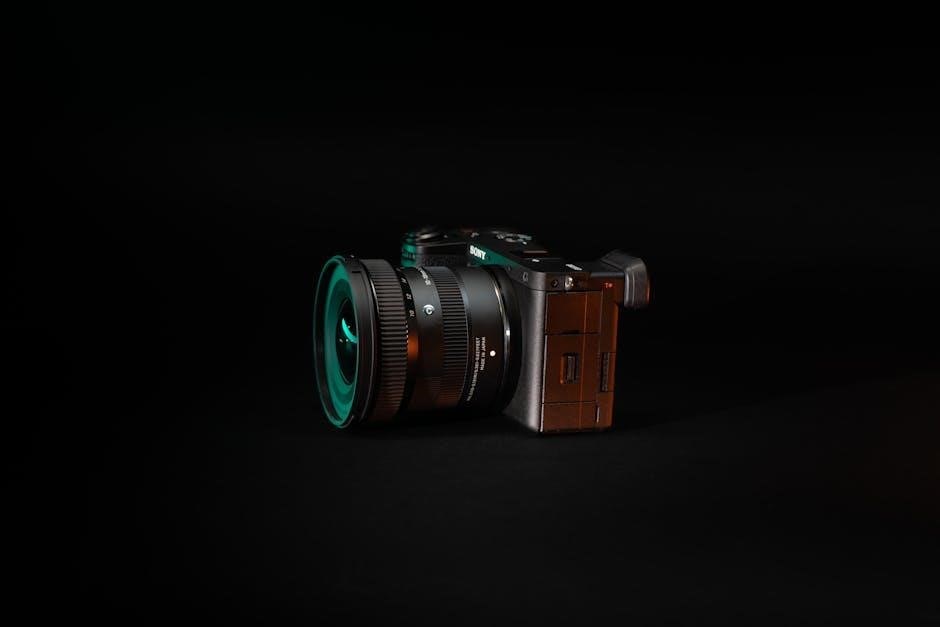
The KF 50․0009 PTZ camera is a high-performance surveillance device designed for efficient monitoring․ It features advanced pan, tilt, and zoom capabilities, allowing precise control over camera movements; The camera is equipped with high-quality components, including a robust lens and image sensor, ensuring clear and detailed video capture․ Its durable housing makes it suitable for both indoor and outdoor installations․ The KF 50․0009 is user-friendly and integrates seamlessly with network systems, offering remote accessibility and configuration․ This camera is an ideal choice for security applications requiring flexibility, reliability, and superior video quality, making it a valuable addition to any surveillance setup․
Hardware Requirements for the KF 50․0009 PTZ Cam
The KF 50․0009 PTZ Cam requires a stable power supply and a high-speed network cable for optimal performance, ensuring reliable operation and clear video transmission always․
Essential Components and Accessories
The KF 50․0009 PTZ Cam comes with essential components, including a power supply, network cable, and metal bracket for secure installation․ Additional accessories like a remote controller and joystick enhance functionality․ The camera features a high-quality image sensor and lens for crisp video capture․ Ensure all components are included for proper setup and optimal performance․ These accessories are designed to provide durability and reliability, making the camera a robust solution for surveillance needs․
Power Supply and Network Cable Requirements
The KF 50․0009 PTZ Cam requires a stable power supply, typically 12V DC, to ensure consistent operation․ A high-quality network cable, such as CAT5 or CAT6, is essential for reliable connectivity․ For optimal performance, use a cable with minimal interference and sufficient bandwidth․ Ensure the power supply meets the camera’s specifications to avoid damage․ Proper wiring and connections are critical for both power and network stability․ Additionally, PoE (Power over Ethernet) compatibility simplifies installation by delivering power and data through a single cable, reducing clutter and setup complexity․
Step-by-Step Setup Instructions for the KF 50․0009 PTZ Cam
Follow these organized steps to set up your KF 50․0009 PTZ Cam: gather equipment, install physically, connect to the network, configure settings, and test functionality․
Step 1: Gather Your Equipment
To begin setting up your KF 50․0009 PTZ Cam, ensure you have all necessary components․ This includes the camera unit, power supply, network cable, mounting hardware (screws and brackets), and the user manual․ Additionally, a remote controller or joystick may be provided for easier operation․ Verify that all accessories are included in the package to avoid delays․ It’s also recommended to have a drill and screwdriver handy for installation․ Organize your equipment beforehand to streamline the process and ensure a smooth setup experience․ Proper preparation now will save time and effort later․
Step 2: Physical Installation of the Camera
Begin by attaching the metal bracket to a wall using a power drill and screws․ Ensure the installation height is between 8-10 feet (2․4m-3m) for optimal coverage․ Secure the camera to the bracket using the provided thumb screws․ Tighten firmly to prevent movement or vibration․ Make sure the camera is level and evenly positioned for balanced operation․ Avoid installing near heat sources or obstructions that could interfere with performance․ Double-check the bracket’s stability to ensure the camera remains securely in place․ Proper physical installation is crucial for reliable operation and clear video capture․ Follow the manufacturer’s guidelines for precise alignment and placement․
Step 3: Connect Your Camera to Your Network
Connect the camera to your network using an Ethernet cable for a stable wired connection or via Wi-Fi for wireless setup․ Ensure the network cable is securely plugged into both the camera and your router․ For Wi-Fi, access the camera’s setup interface through a computer or mobile app․ Log in using the admin credentials provided in the user manual․ Once connected, the camera will obtain an IP address automatically․ Ensure the network connection is stable to avoid interruptions․ If using a wireless connection, verify the signal strength and proximity to the router․ A reliable network connection is essential for smooth operation and remote access․
Step 4: Configure Your Camera’s Network Settings
Access the camera’s web interface or dedicated app to configure network settings․ Set a static IP address if required, or use DHCP for automatic assignment․ Configure port forwarding for remote access and enable DDNS if needed․ Ensure the camera’s firmware is updated for optimal performance․ Secure the camera by changing default admin credentials and enabling WPA2 encryption․ Test the connection by pinging the camera’s IP address or accessing it remotely․ Verify all settings are saved and the camera operates smoothly across your network․ Proper network configuration ensures reliable performance and remote accessibility․
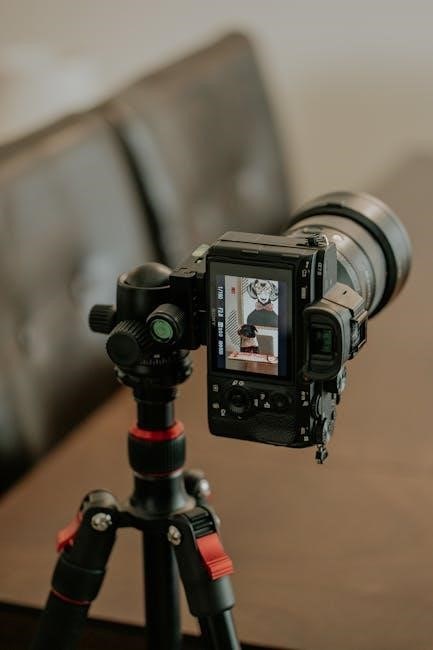
Step 5: Test Your Camera’s Functionality
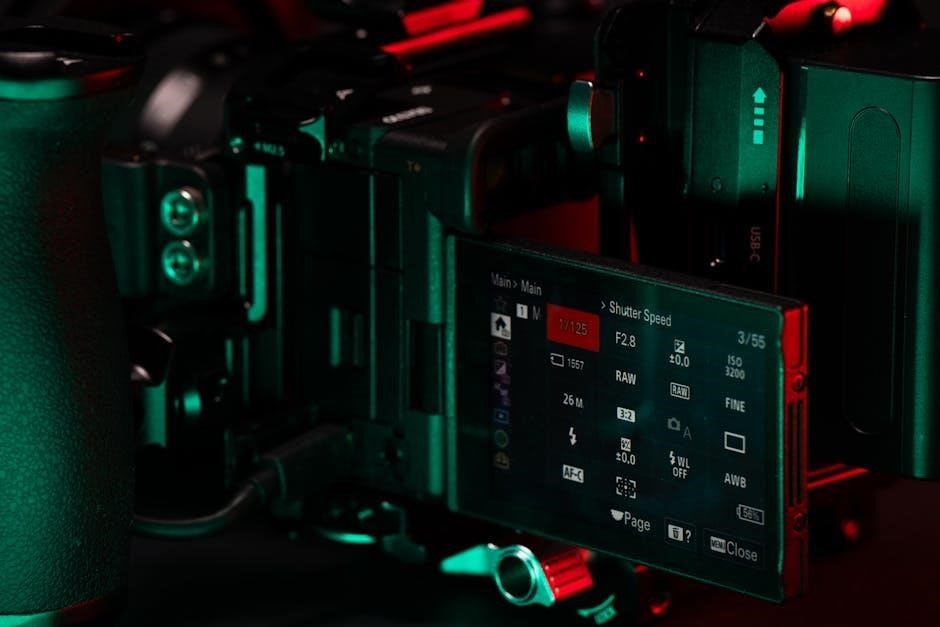
Once connected, test the camera’s functionality to ensure proper operation․ Check the live feed to confirm video quality and adjust settings if needed․ Test pan, tilt, and zoom controls to verify smooth movement and accuracy․ Ensure night vision or low-light settings activate correctly and provide clear footage․ Test motion detection alerts and any preset patrols or tours․ Verify network connectivity by accessing the camera remotely․ Use the app or software to confirm all features work seamlessly․ Finally, ensure firmware is up-to-date for optimal performance․ Successful testing confirms the camera is ready for reliable monitoring and security operations․
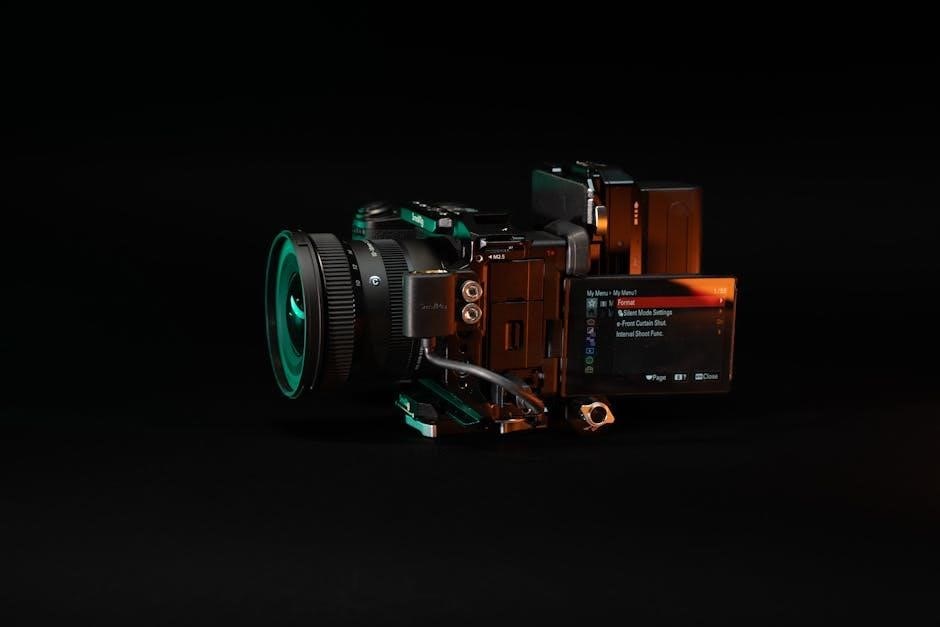
Configuring the Camera’s Software and Settings
Configure your PTZ camera’s software using the dedicated app․ Access settings for video quality, motion detection, and preset points․ Regularly update firmware for optimal performance․
Using the Dedicated Mobile App for Setup
Download and install the dedicated mobile app for your PTZ camera setup․ Open the app and follow the in-app instructions to connect your camera to your network․ Ensure your camera and mobile device are on the same Wi-Fi network․ Use the app to configure basic settings, such as IP address, username, and password․ The app may also allow you to test camera functionality, adjust video quality, and set up motion detection․ Some apps offer features like QR code scanning to streamline the setup process․ Once connected, use the app to monitor live footage and control camera movements remotely․
Configuring Preset Points and Patrol Settings
Access the camera’s settings through the web interface or mobile app․ Define preset points by positioning the camera at desired locations and saving them․ Set patrol routes by selecting multiple preset points and adjusting the dwell time (minimum 15 seconds)․ Enable the patrol function to allow the camera to automatically cycle through the selected points․ Use the app or controller to test the patrol route and ensure smooth transitions․ Configure intervals and schedules for automatic patrols, enhancing monitoring efficiency․ This feature is ideal for covering large areas or focusing on critical zones, ensuring comprehensive surveillance with minimal manual intervention․
Optimizing Video Quality and Performance
To ensure the best video quality, adjust the camera’s resolution and bitrate settings according to your network capabilities․ Enable compression to reduce bandwidth usage without compromising clarity․ Position the camera in a well-lit area to minimize grain and maximize detail․ Regularly clean the lens to avoid smudges or debris obstructing the view․ For smooth operation, maintain a stable network connection and avoid interference from other devices․ Update the camera’s firmware to benefit from performance improvements and new features․ These steps ensure optimal video quality, reliability, and longevity of your KF 50․0009 PTZ camera setup․
Tips for Optimizing Your PTZ Camera Setup
Position the camera strategically for maximum coverage, ensure stable network connectivity, and regularly update software for enhanced performance and security capabilities;
Best Practices for Placement and Installation
For optimal performance, install the KF 50․0009 PTZ camera at a height of 8-10 feet to minimize tampering and ensure wide coverage․ Use a sturdy metal bracket to secure the camera firmly to the wall, ensuring it remains stable in various conditions․ Position the camera in an area with a strong Wi-Fi signal to avoid connectivity issues․ Avoid placing it near heat sources like radiators or stoves to prevent overheating․ Ensure the power supply and network cables are neatly organized and protected from damage․ Proper installation ensures reliability, video clarity, and long-term functionality of the camera․
Enhancing Security and Monitoring Capabilities
PTZ cameras like the KF 50․0009 significantly enhance security by offering remote control over pan, tilt, and zoom functions, allowing detailed monitoring of vast areas․ Preset points and patrol routes enable automated surveillance, ensuring consistent coverage without manual intervention․ High zoom capabilities capture precise details, while night vision ensures clarity in low-light conditions․ Integrating the camera with existing security systems amplifies its effectiveness․ Regular software updates and maintenance further optimize performance, ensuring robust monitoring and reliability․ These features make PTZ cameras indispensable for modern security needs, providing advanced tools to deter and respond to potential threats effectively․
Troubleshooting Common Issues
Address network connectivity problems by checking cables and settings․ Resolve software glitches through updates․ Ensure stable power supply and restart the camera if issues persist․
Resolving Network Connectivity Problems
Network issues with the KF 50․0009 PTZ camera often arise from incorrect IP configurations or loose connections․ Ensure the Ethernet cable is securely plugged into both the camera and the router․ Check the network settings in the camera’s web interface to confirm the IP address and subnet mask are correctly assigned․ If using DHCP, ensure the feature is enabled to automatically obtain an IP address․ Restart the camera and router if issues persist․ Additionally, verify that the network cable is free from damage and that all ports are functioning properly․ This will help restore connectivity efficiently․
Fixing Mechanical or Software Malfunctions
Mechanical issues with the KF 50․0009 PTZ camera, such as faulty pan-tilt or zoom functions, may require lubrication or replacement of worn parts․ For software malfunctions, updating the firmware via the web interface often resolves issues․ Restart the camera after updates to ensure proper installation․ If the camera freezes or fails to respond, perform a factory reset using the reset button․ Always consult the user manual for specific instructions․ Regular maintenance, such as cleaning the lens and updating software, can prevent malfunctions and ensure optimal performance․ Addressing these issues promptly helps maintain reliable camera operation․
Best Practices for Using Your PTZ Camera
Regular updates, optimal placement, and testing ensure the camera performs at its best, providing reliable security monitoring and clear video quality consistently over time․
Regular Maintenance and Updates
Regular maintenance ensures your KF 50․0009 PTZ camera operates optimally․ Check the lens for cleanliness and ensure the camera is free from dust or debris․ Additionally, the camera’s mechanical components, such as the pan-tilt mechanism, should be inspected periodically to ensure smooth operation․ Regularly updating the camera’s firmware is crucial for security patches, feature enhancements, and performance improvements․ Always follow the manufacturer’s instructions for updates to avoid any potential issues․ A well-maintained camera not only lasts longer but also delivers consistent, high-quality video performance․
Ensuring Optimal Performance and Longevity
To ensure the KF 50․0009 PTZ camera performs optimally and lasts long, install it in a stable environment with minimal exposure to extreme temperatures or moisture․ Regularly clean the lens to maintain video clarity and check for firmware updates to keep the camera’s software current․ Avoid overloading the camera’s mechanical components by not exceeding recommended usage limits․ Proper power supply and network configurations are also essential for smooth operation․ By adhering to these guidelines, you can maximize the camera’s performance and extend its lifespan, ensuring reliable security monitoring for years to come․